

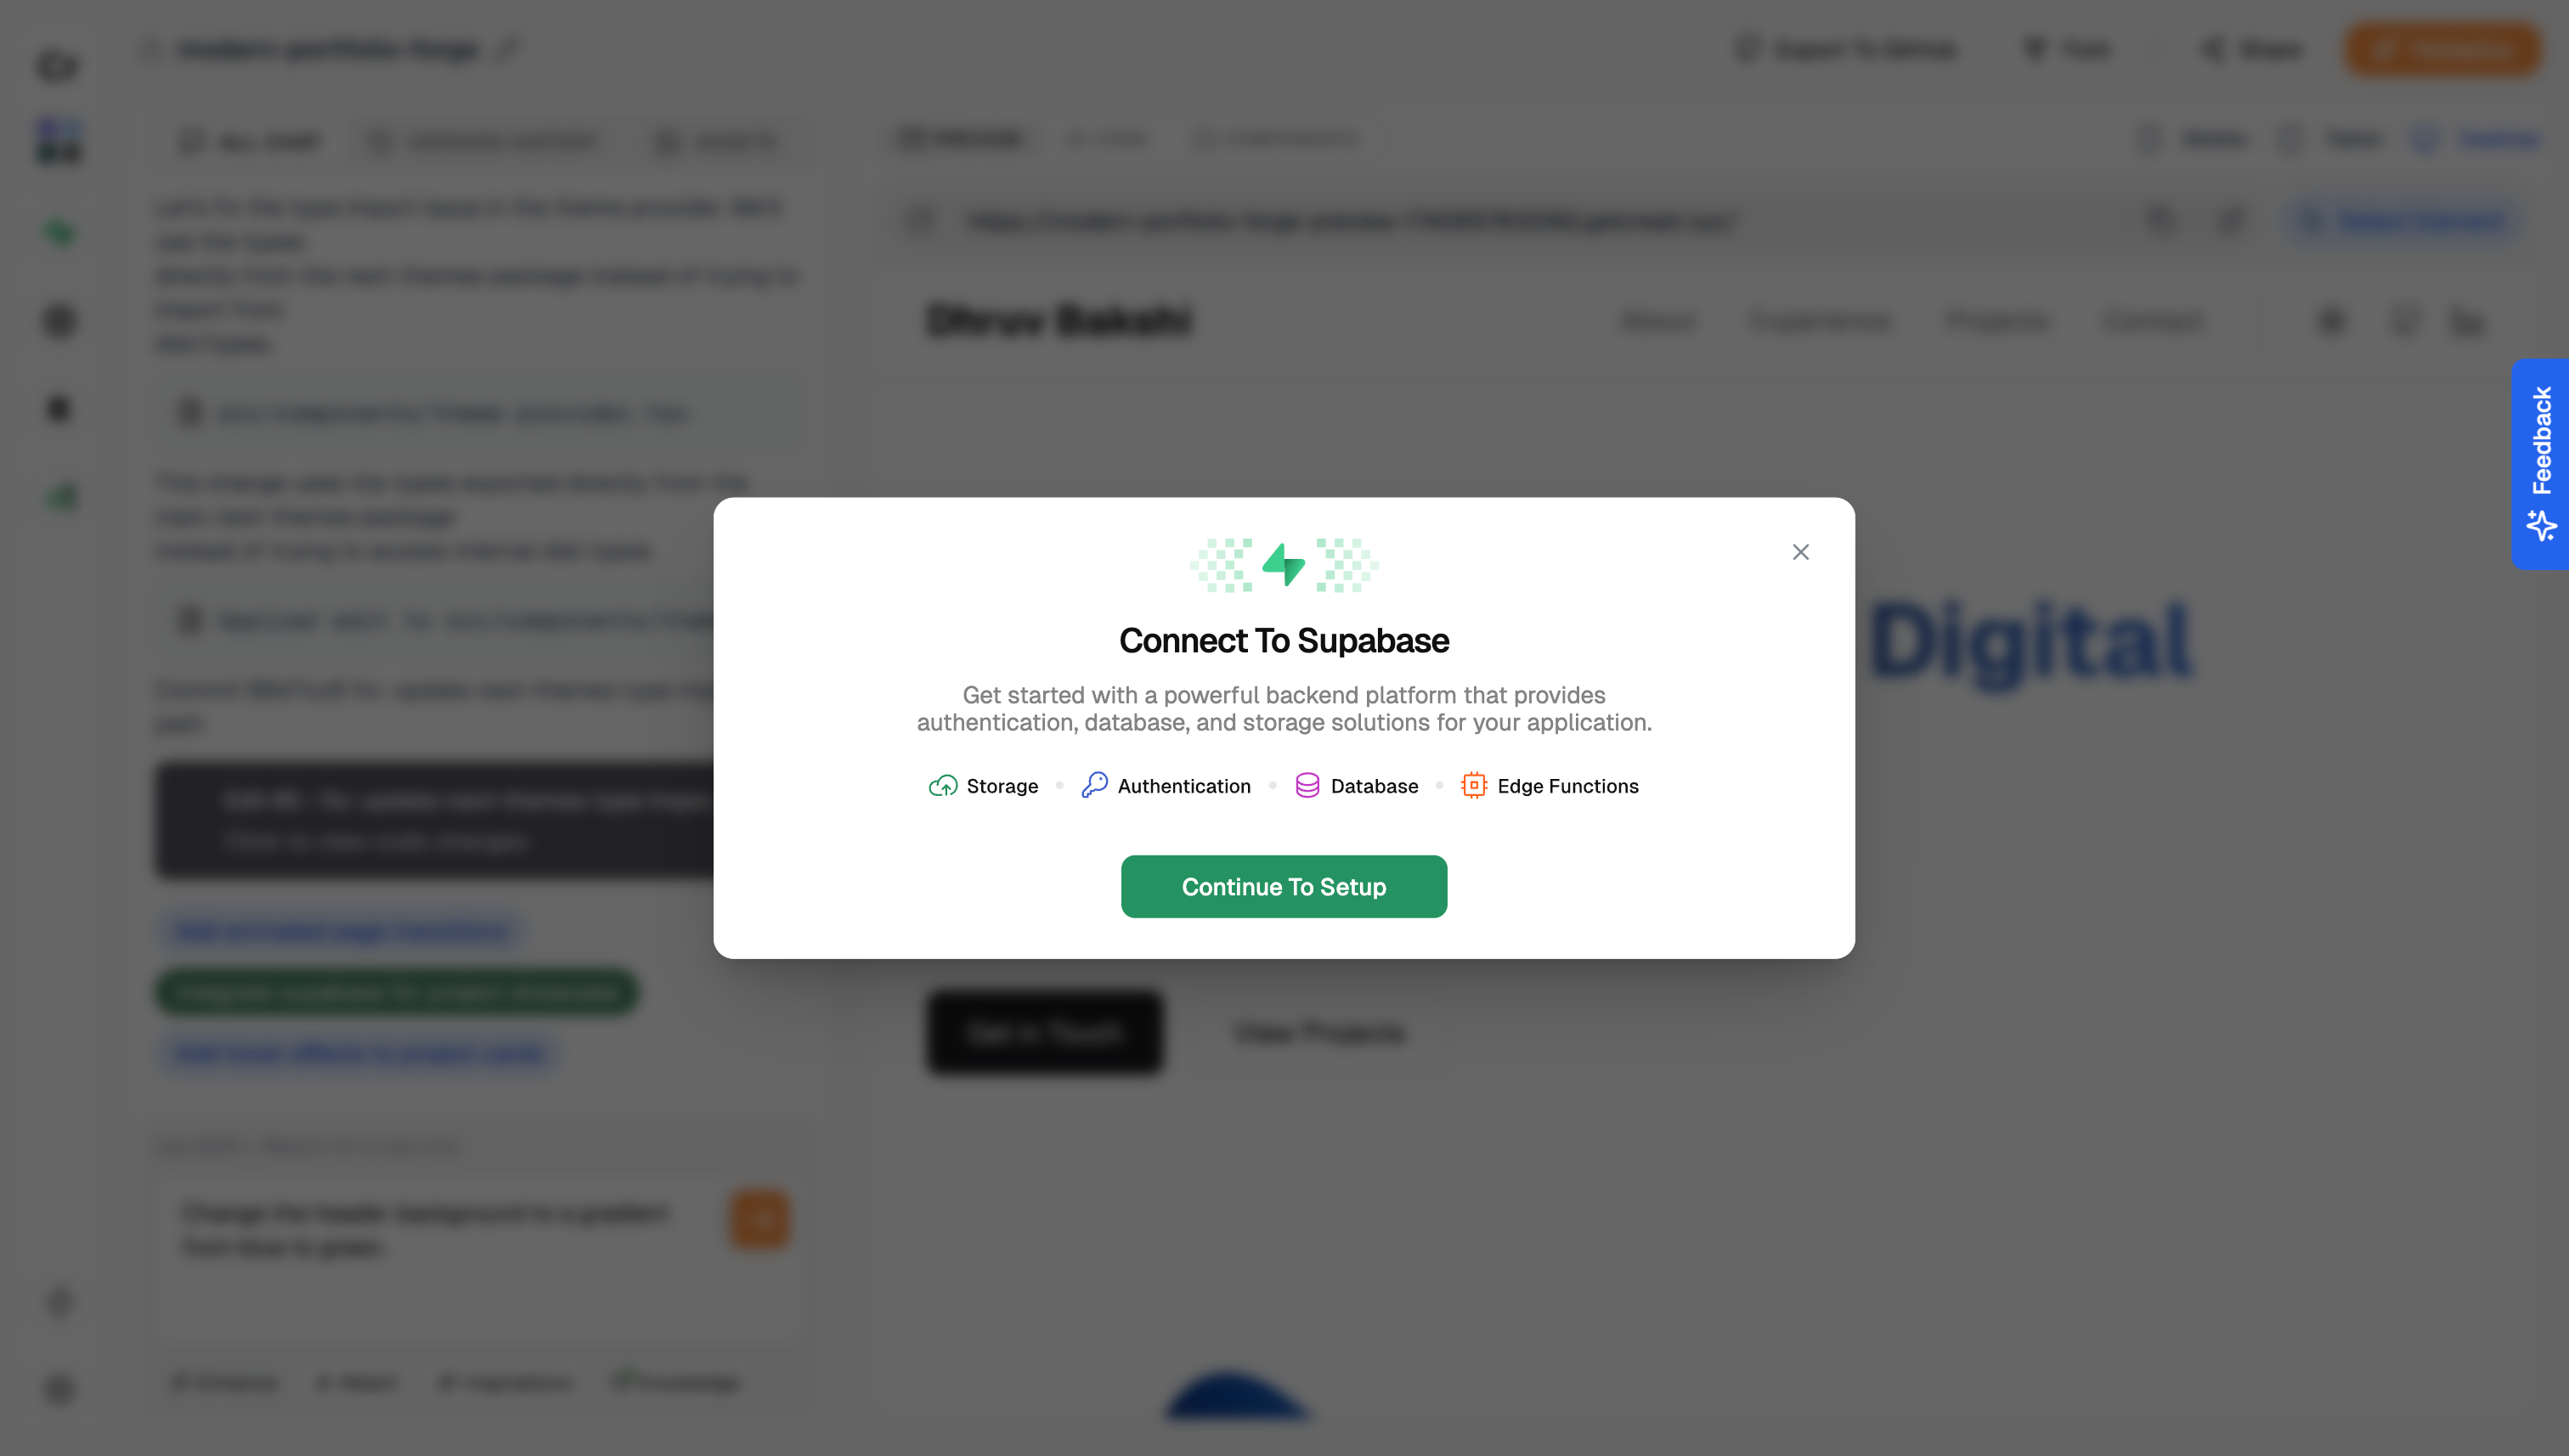
What is Supabase Integration?
Supabase integration empowers you to seamlessly connect your Creatr projects with Supabase’s robust suite of backend services. With just a few simple clicks, you can harness powerful features such as:- Authentication: Securely manage user sign-ups, logins, and sessions.
- Database: Leverage a scalable, real-time database to store and retrieve your data effortlessly.
- Storage: Easily handle file and media management without the hassle of manual setups.
1. Register or Login to Supabase
Before starting the integration, you’ll need a Supabase account:- Register for a new Supabase account if you don’t have one
- Login to your existing Supabase account if you already have one
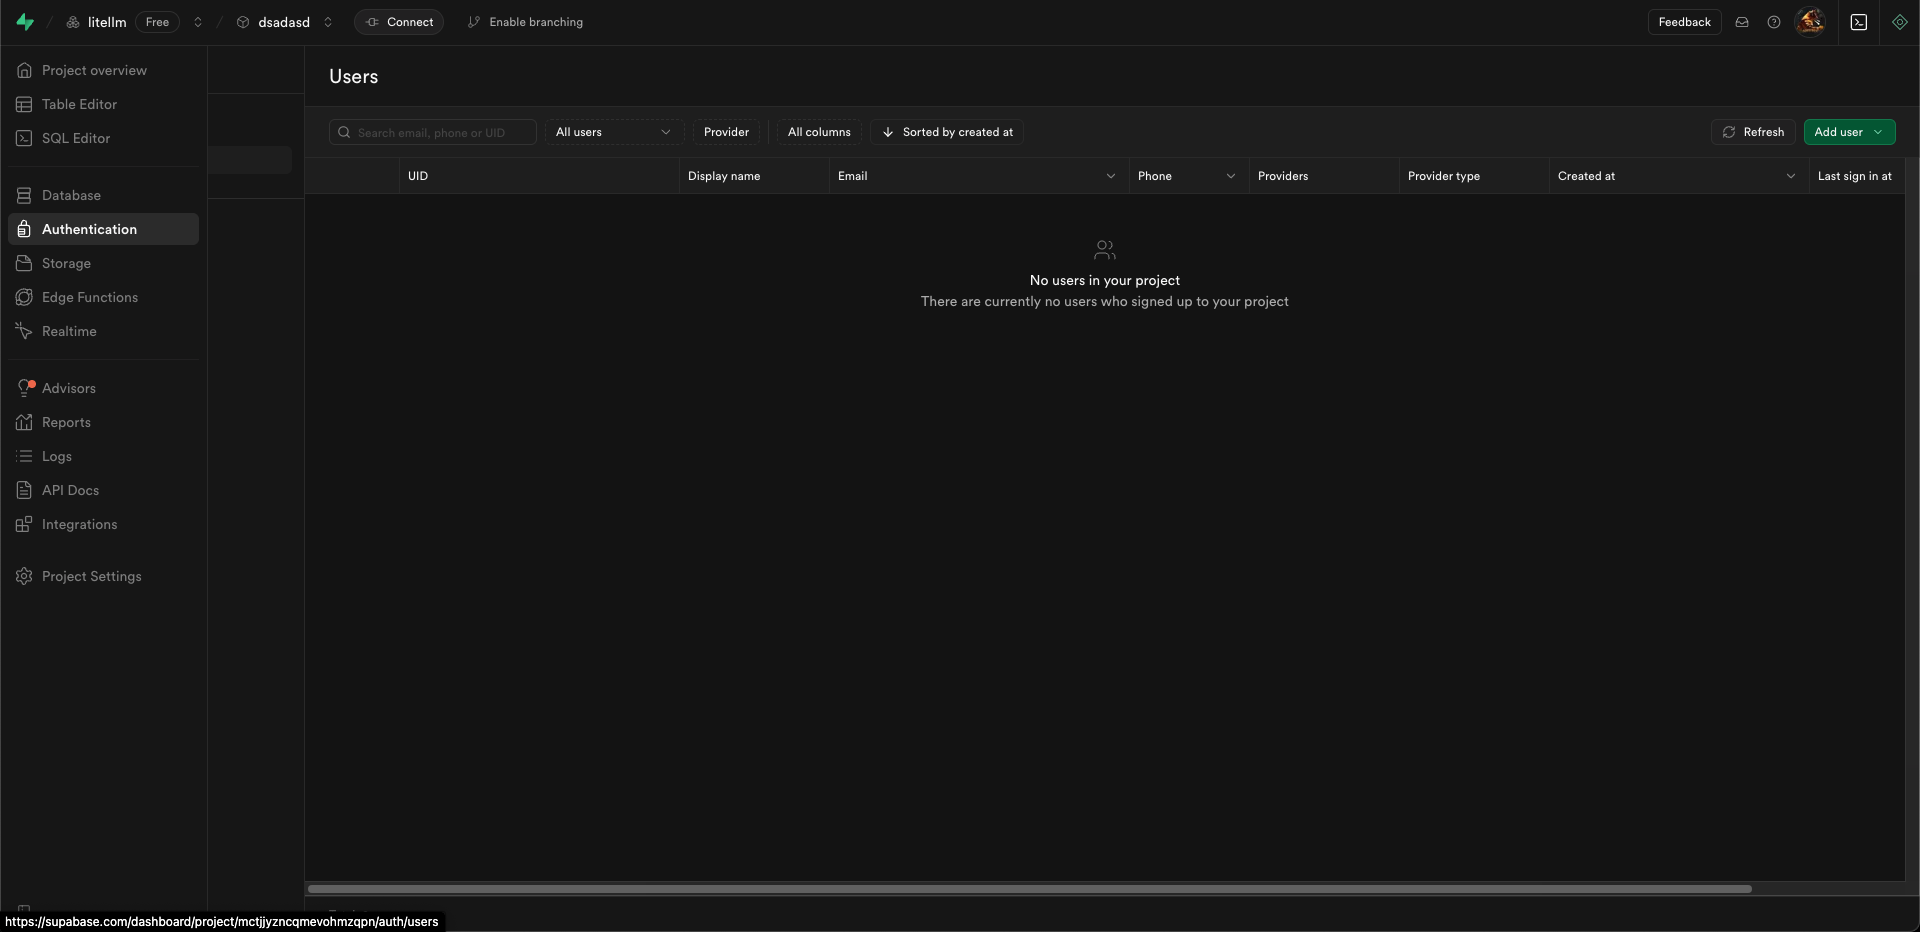
2. Access the Supabase Integration
In your Creatr dashboard, navigate to the Integrations section and select Supabase. A simple click launches the integration process, putting powerful backend services at your fingertips.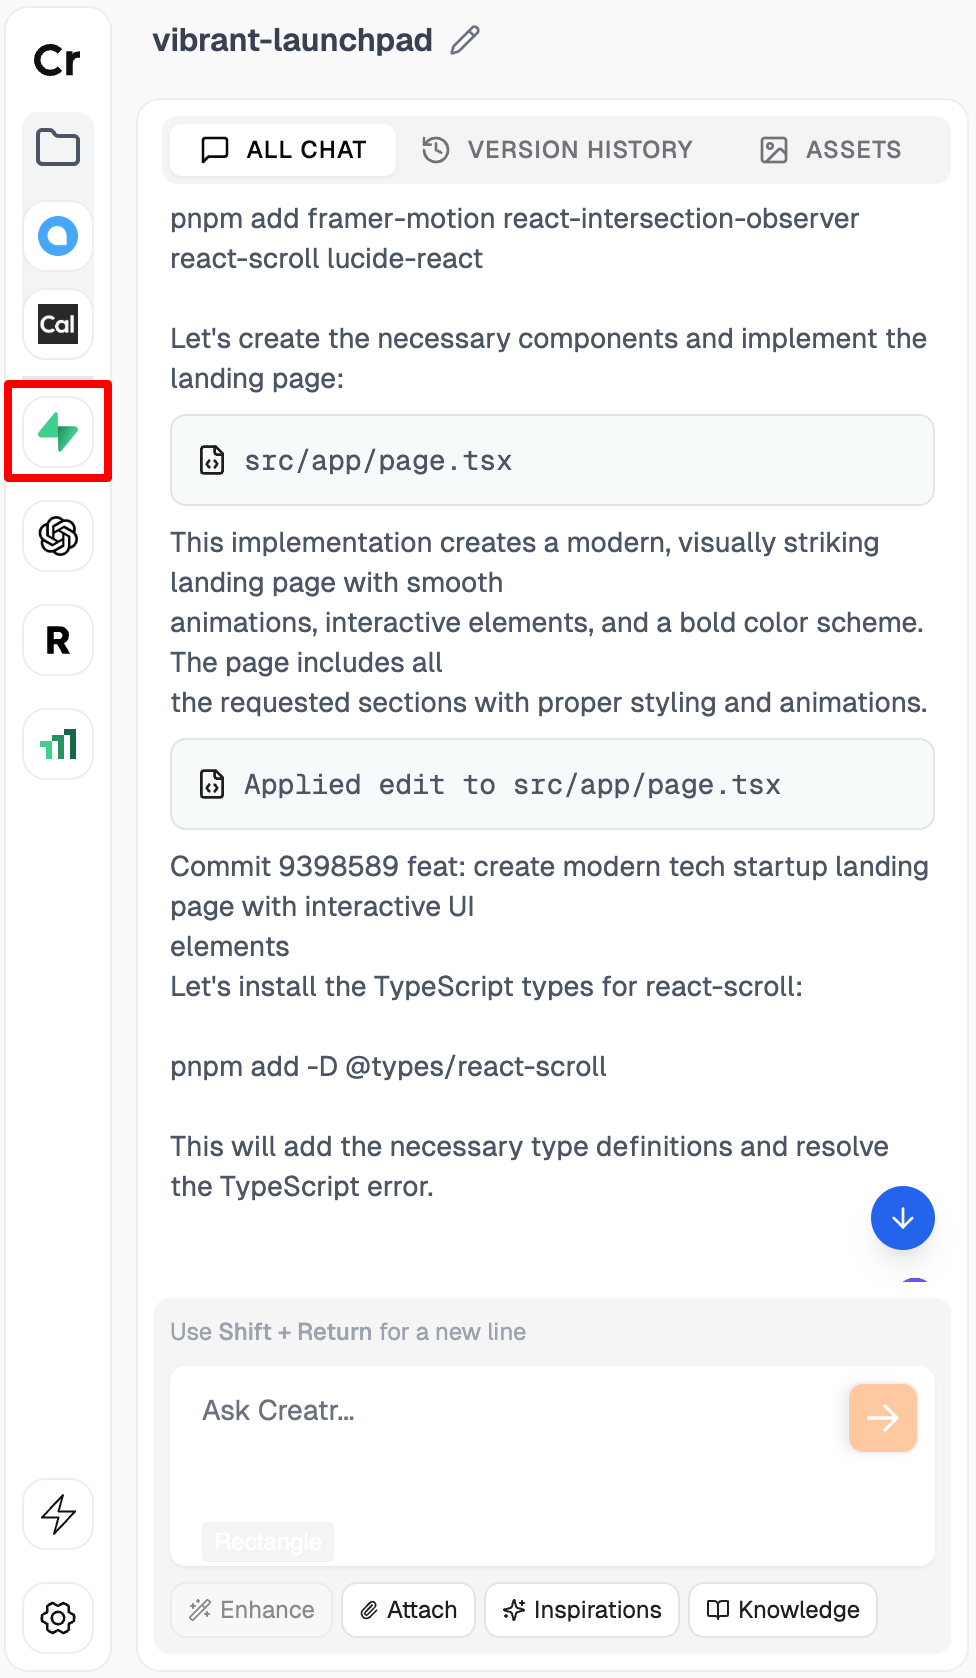
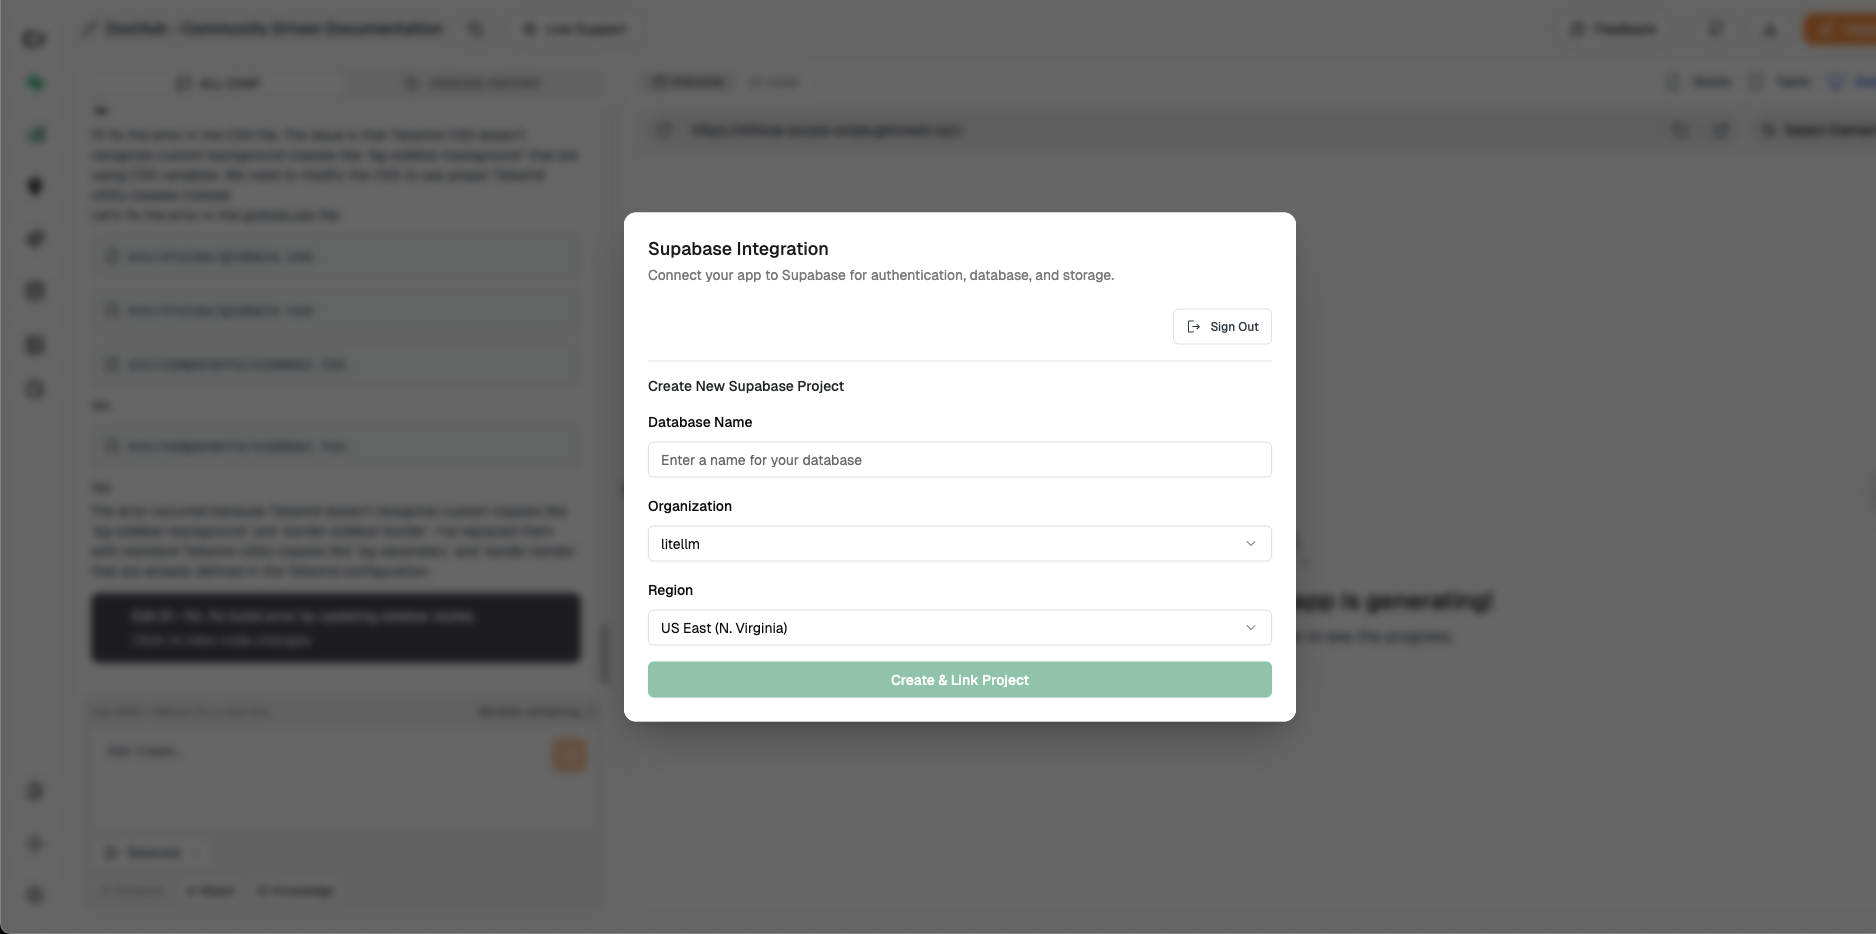
3. Connect Your Supabase Account
You will be prompted to log in or sign up for Supabase. After authentication, grant Creatr the necessary permissions to access your Supabase project seamlessly.4. Create a New Supabase Project
After connecting your account, you’ll need to create a new Supabase project. Simply:- Enter your database name
- Choose your organization
- Select the region closest to you for optimal performance
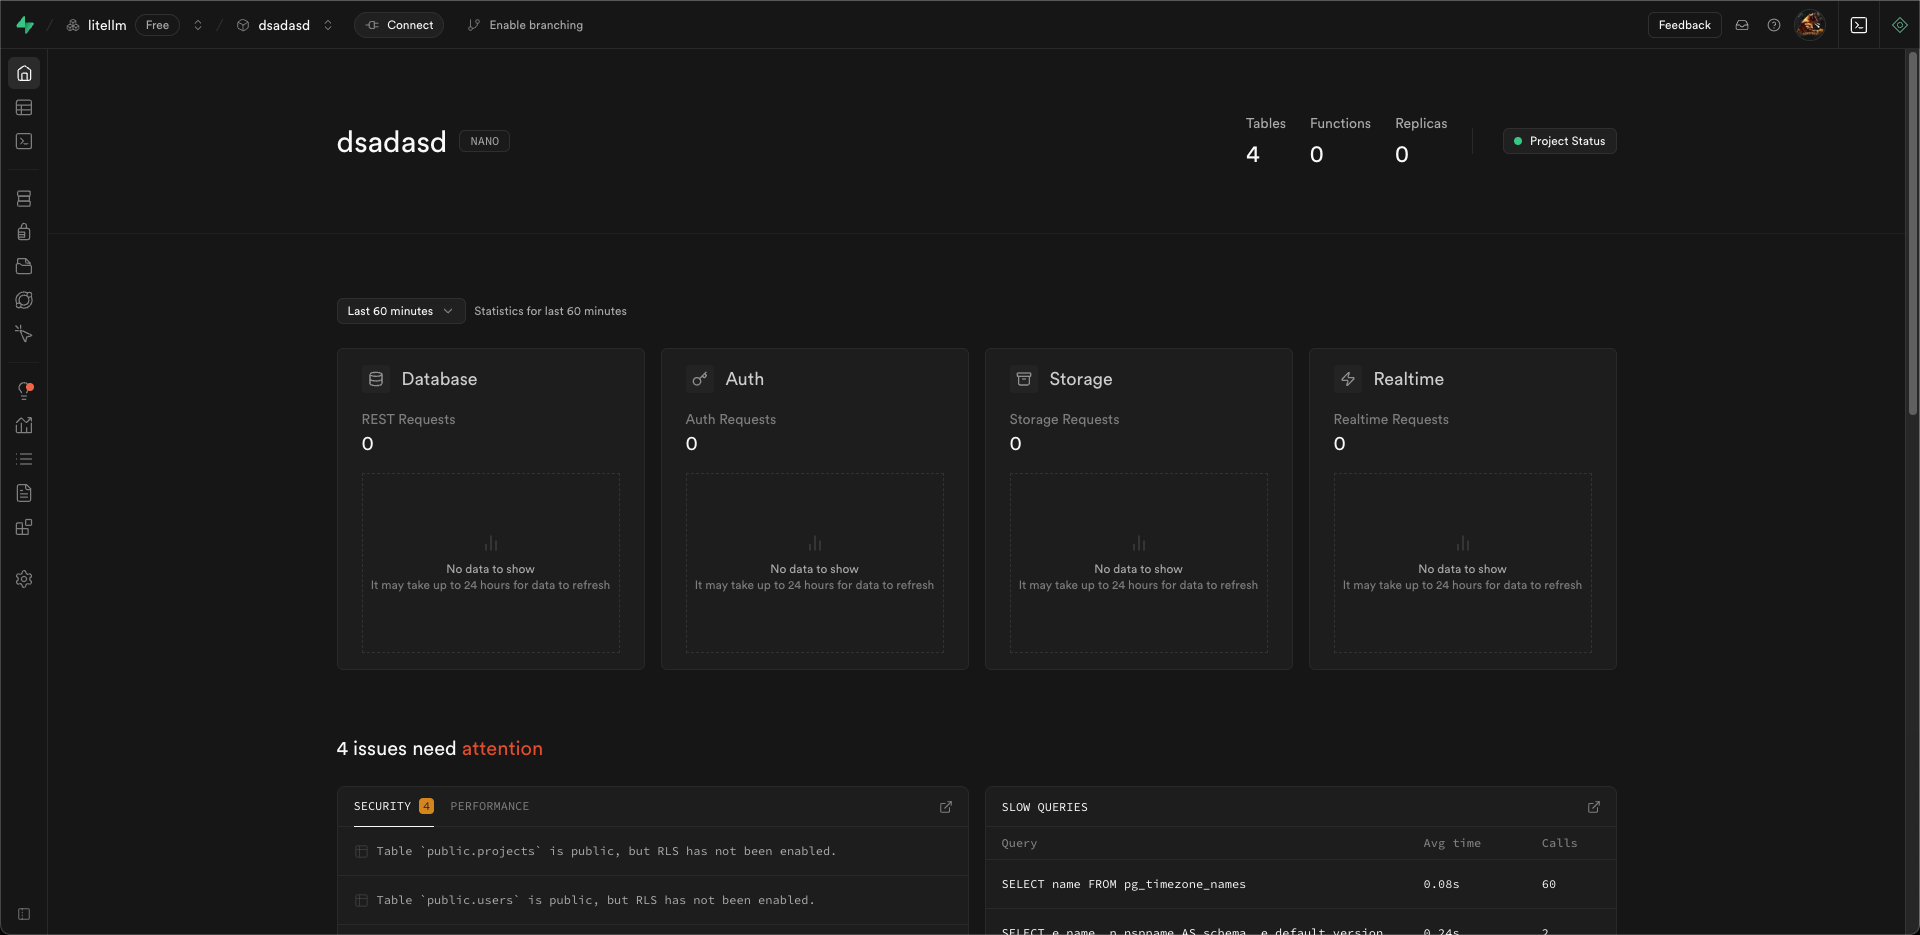
Supabase Features
Supabase integration in Creatr allows you to add powerful backend functionality to your application through simple prompts. Here’s how to leverage these features:Adding User Authentication
With Creatr’s AI-powered platform, adding authentication is as simple as writing a prompt. No manual coding required!Email/Password Authentication
To add standard email/password authentication to your application, try these prompts:- Set up the necessary Supabase authentication configuration
- Create the required UI components (login forms, signup forms)
- Implement all the authentication logic (user registration, login, session management)
- Handle error states and validation
OAuth Authentication
Supabase supports various OAuth providers like Google, GitHub, Facebook, and more. To use OAuth:-
First, enable your desired providers in the Supabase dashboard:
- Go to your Supabase project → Authentication → Providers
- Enable and configure each provider you want to use (you’ll need to create OAuth applications in each provider’s developer console)
- Then, use prompts like these to add OAuth to your application:
- Implementing the OAuth flow
- Creating UI components with the proper social login buttons
- Managing authentication state and user sessions
- Handling successful login and error cases
Customizing Authentication
You can specify additional details in your prompts:Working with Authenticated Data
Once authentication is set up, you can prompt Creatr to create features that use authenticated contexts:Working with Supabase Storage
Supabase provides a powerful file storage system that allows your application to store and serve files like images, videos, documents, and more.Adding File Storage Features
To add file storage capabilities to your application, use prompts like these:- Secure file upload and download functionality
- Proper bucket configuration in Supabase
- User interface components for file selection and upload
- Progress indicators and error handling
- Secure access policies (public or private files)
Common Storage Use Cases
Here are some specific storage features you can request:Configuring Redirect URLs
When implementing Supabase authentication in your Creatr project, you’ll need to handle redirect URLs properly. By default, Supabase redirects authenticated users tolocalhost:3000, which needs to be updated for your deployed application.
Setting Up Redirect URLs in Supabase Dashboard
First, configure your Supabase project’s redirect URLs:-
Navigate to your Supabase dashboard
-
Open the sidebar and select “Authentication”
-
Click on “URL Configuration”

-
Add your deployment URLs (e.g.,
https://your-project.getcreatr.dev)
Prompting Creatr to Handle Redirect URLs
After configuring Supabase, you can use these prompts to implement the correct redirect URL handling:- Implement dynamic redirect URL handling
- Use
window.location.originto support all environments - Handle the authentication flow correctly
Pro Tips for Prompting
- Multi-Environment Support
- Local Development
- Custom Domain Support
Troubleshooting Through Prompts
If you encounter issues, try these prompts:- Fix Redirect Issues
- Environment-Specific Problems
- CORS Issues
- Preview URL:
https://your-project.getcreatr.dev - Production URL:
https://your-project.getcreatr.app - Custom domain (if applicable)
By using these prompts, Creatr will help you implement proper redirect URL handling in your Supabase authentication flow, ensuring it works correctly across all environments. By following these steps, you can quickly integrate Supabase into your Creatr project and unlock advanced backend capabilities with ease. Enjoy building and deploying your enhanced web application!