

On this page
- Step 1: Connect your domain to Creatr
- Step 2: Log in to your Hostinger account
- Step 3: Add the CNAME records
- Step 4: Add another CNAME record
- Step 5: Verify connection
- Troubleshooting
Step 1: Connect your domain to Creatr
- From your Project workspace, go to Settings > Manage Custom Domains.
- Enter domain.
- Click Save
Step 2: Log in to your Hostinger account
- Open a new browser tab, and then log in to your Hostinger account.
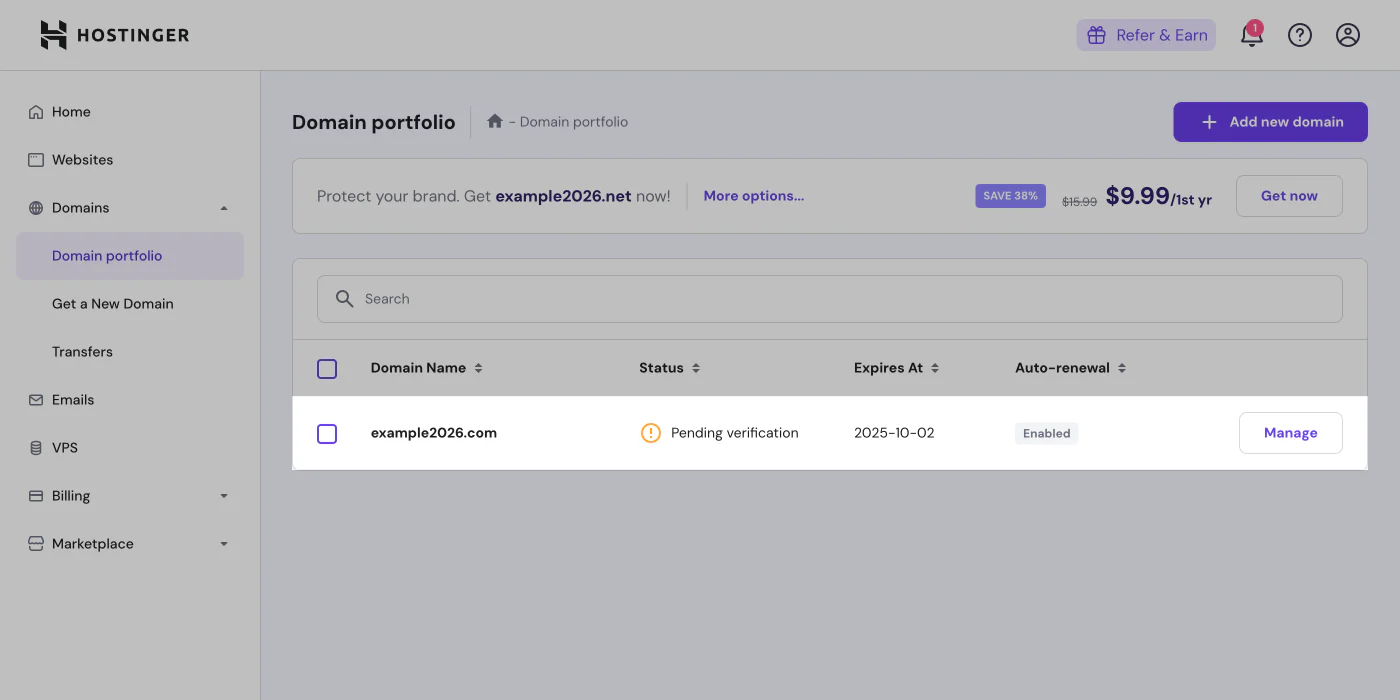
- Click Domains > Domains portfolio.
- Click Manage for the domain that you want to connect to Creatr.
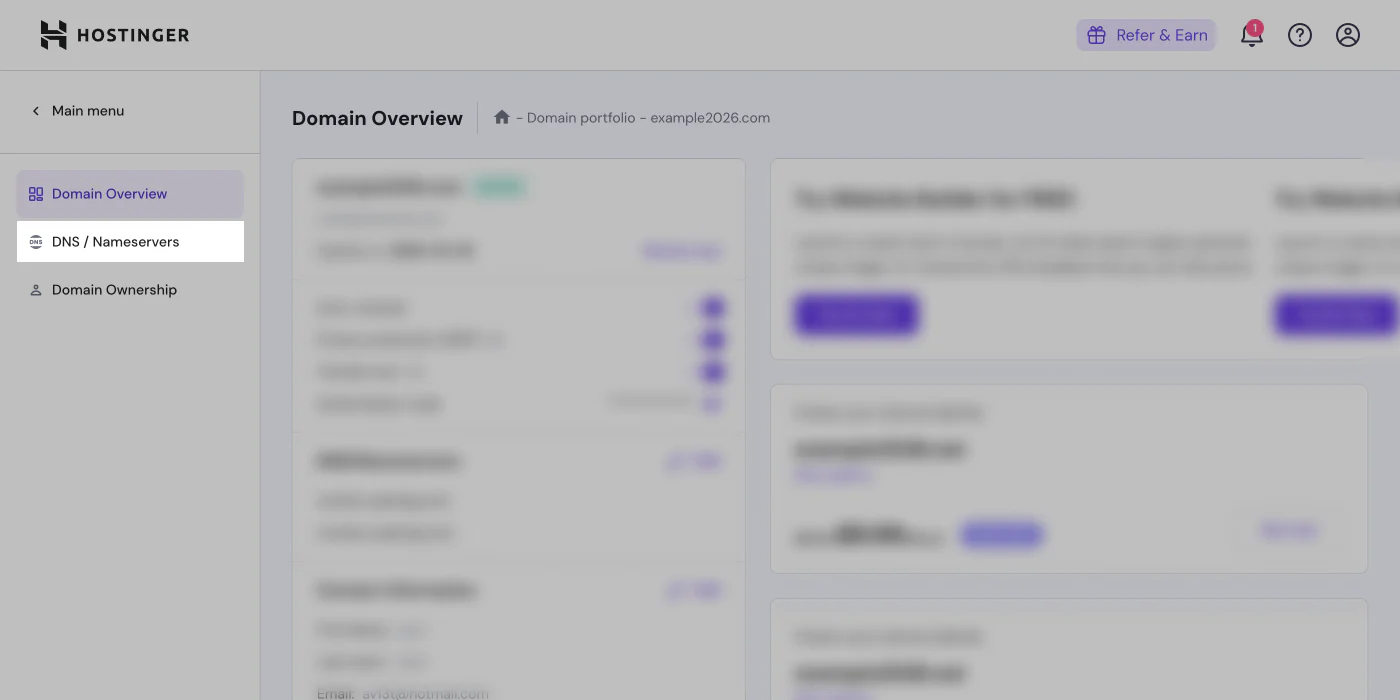
- Click DNS/Nameservers.
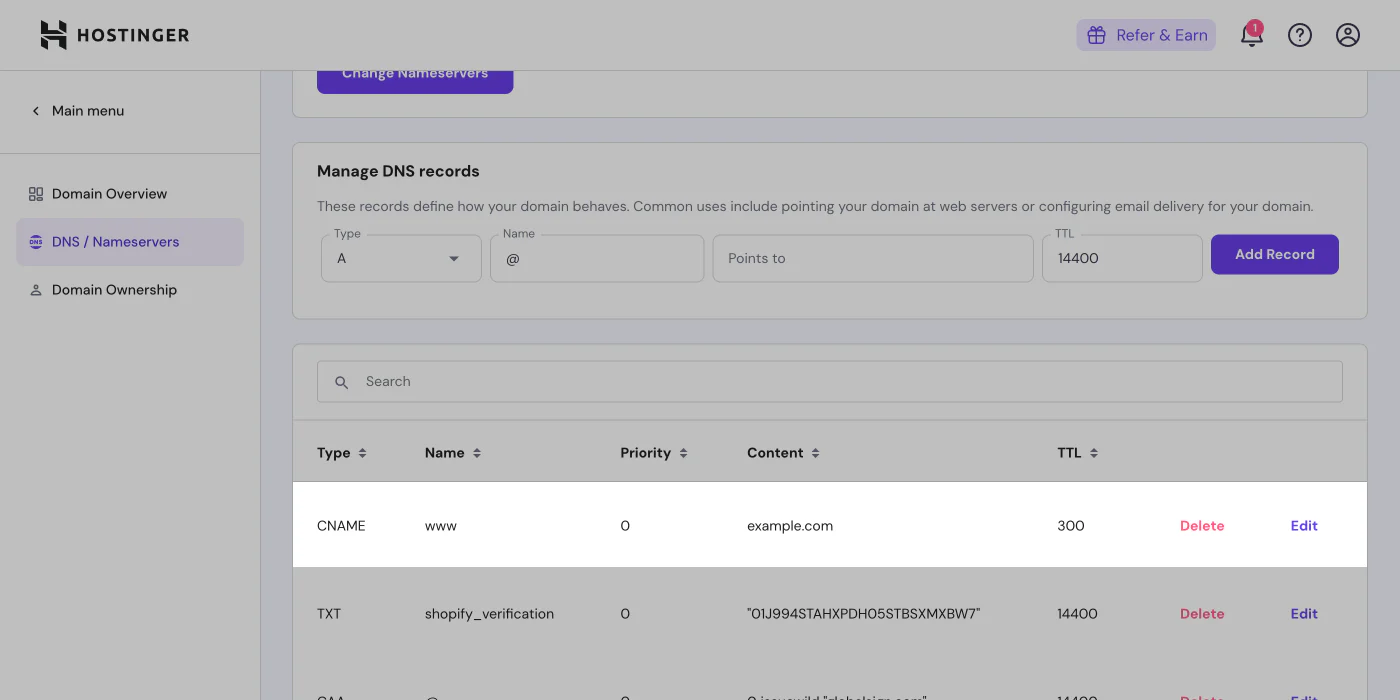
Step 3: Add the CNAME records
- In the Manage DNS records card, click the Type drop-down menu, and then select CNAME.
- Enter the following CNAME record to your DNS settings:
- Type: CNAME
- Name: _acme-challenge.hostname
- Points to: hostname.a717d819c68725fc.dcv.cloudflare.com
- TTL: 1 hour
- Click Add Record.
Step 4: Add another CNAME record
- Click the Type drop-down menu again, and then select CNAME.
- Enter the following CNAME record to your DNS settings:
- Type: CNAME
- Name: www
- Points to: customers.getcreatr.app
- TTL: 1 hour
- Click Add Record.
Step 5: Verify connection
- From your Creatr admin, go to Settings > Manage Custom Domains.
- After your domain is verified, it will be displayed as connected on the Manage Custom Domains tab in your Project Settings.
Note
It’s normal to have a warning stating, Domain connection Pending, because some providers can take longer to verify the connection.